
As well as creating a project using XML, the collected data can also be displayed within an XML file. XML files can be opened with Notepad++ or with any browser (e.g. Internet Explorer, Chrome, Firefox). Data within the XML format will look similar to the example below. This example is one data record taken from the Transport Demo project:
|
1 2 3 4 5 6 7 8 9 10 11 12 13 14 15 16 17 18 19 20 21 22 23 24 |
<?xml version="1.0" encoding="UTF-8"?> <RecordsExport exportedAt="2017-03-29T05:27:59.869-04:00"> <Record schemaName="Transport_Demo_(v2.3):Survey" modelID="5279027149407442" modelSchemaNumber="1"> <StartTime>2017-03-14T06:20:21.864-04:00</StartTime> <StartTime-LocalYYYYMMDD_HHMMSS>2017-03-14 06:20:21</StartTime-LocalYYYYMMDD_HHMMSS> <StartTime-UCTOffsetH>-4.0</StartTime-UCTOffsetH> <StartTime-UnixMS>1489486821864</StartTime-UnixMS> <DeviceID>3386499525</DeviceID> <TransportMode>1</TransportMode> <TransportMode-Value>Motorcycle</TransportMode-Value> <TransportMode-Image>motorcycle.svg</TransportMode-Image> <!-- TransportMode-Caption is null --> <Picture>7015;</Picture> <Picture-Files>'Picture_3386499525_2016-03-30T06.57.53_7015.jpg':</Picture-Files> <Position.Latitude>65.9667</Position.Latitude> <Position.Longitude>-18.5333</Position.Longitude> <Position.Altitude>15.0444</Position.Altitude> <Position.Bearing>0.0</Position.Bearing> <Position.Speed>0.0</Position.Speed> <Position.Accuracy>1.0</Position.Accuracy> <Position.TimeUTC>2017-03-14T14:20:44.000-04:00</Position.TimeUTC> <Position.Provider>1</Position.Provider> </Record> </RecordsExport> |
RecordsExport
This is the root element that will contain all the exported records (<Record> elements). This attribute exportedAt displays the time and date when the data was exported to the phone, using the ISO 8601 standard of measuring time.
Record
The record element stores the collected data for each record, and has the following attributes:
- schemaName: This row will display the name and version of the Sapelli project as well as the associated Form ID. In this example, the record belongs to the project “Transport_Demo_(v2.3)” and the form “Survey“.
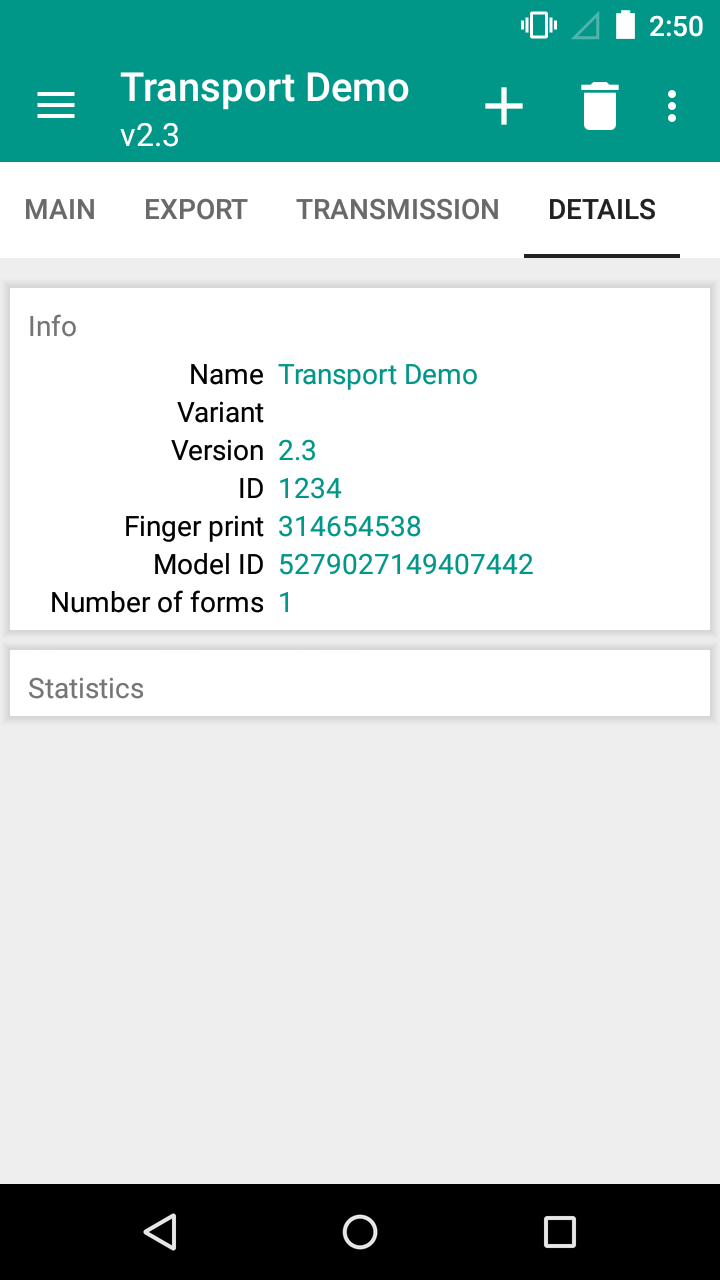
- modelID: This row displays the project’s Model ID. You can view the Model ID of a Sapelli project by clicking on the “Details” tab at the top of the home page screen. The Model ID is a combination of the ID of a project and its Finger print. In other words, any change to the project ID or any change in the PROJECT.xml file will automatically generate a new Model ID. This is important when comparing data to check that the exact same project was used across devices. For example, when sending data between phones the data will not merge if the model ID does not match between the phones.
- modelSchemaNumber: This is an internal Sapelli number to identify the Form, that this record came from. This is used for Sapelli to import data from other devices.
Then within each Record, there are different elements, depending on the PROJECT.xml of your project. For example for the Transport Demo project we have the following:
Start Time
There are four “StartTime” rows. They essentially all provide the same information, but in different formats:
- The first StartTime row records the time the user began collecting this record using the ISO 8601 standard of measuring time.
- The second StartTime row records the time the user began collecting this record in local time using the following format: year/day/month and hour/minutes/seconds.
- The third row records the time the user began collecting this record in UTC (coordinated local time). This is useful when collecting data from around the world, where local time may not be the best reflection of when a record was captured.
- Finally, the fourth row records the time the user began collecting this record in unix milliseconds.
It is also possible to have an “EndTime” recorded. However, as the default value for the attribute ‘storeEndTime’ is ‘false’ you need to specifically declare it when writing the PROJECT.XML file (see the Form section of XML documentation for more information on the ‘storeEndTime’ attribute).
Device ID
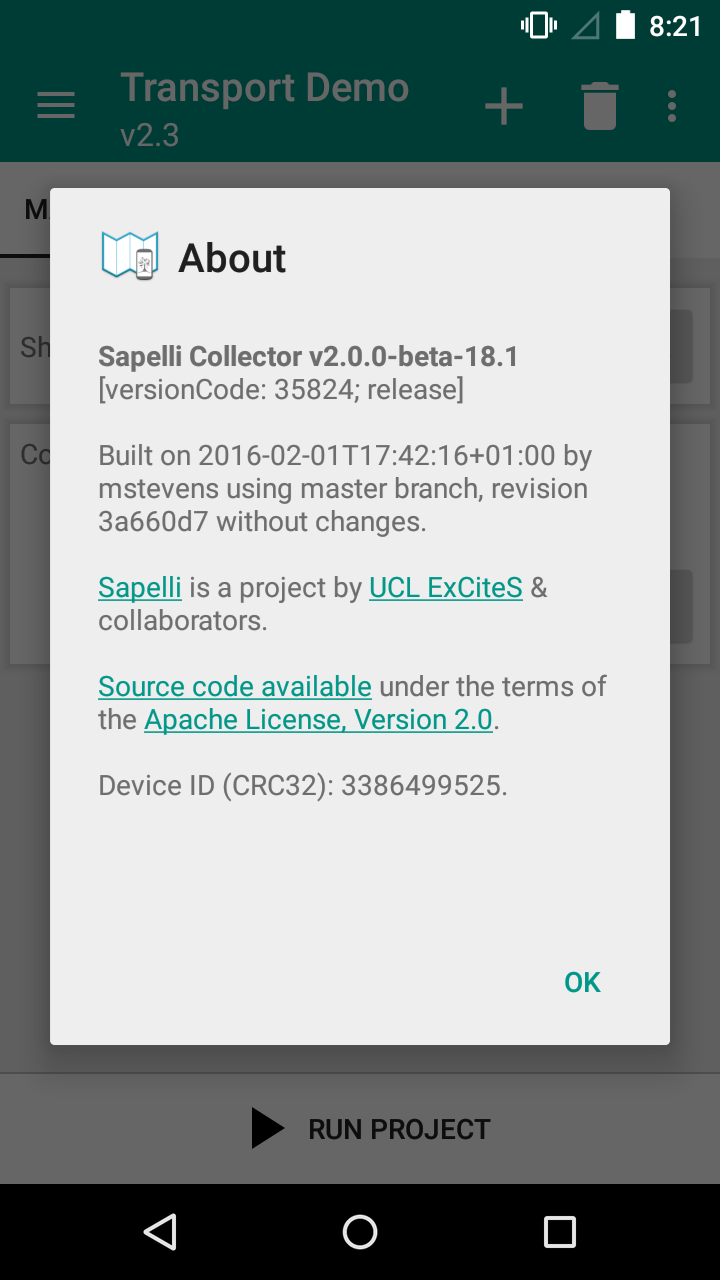
DeviceID: This is the unique ID that is given to every device that has downloaded Sapelli. Therefore, even if data has been merged together from various devices, you can differentiate which data has come from a different device. To see your phone’s “DeviceID” follow these steps:
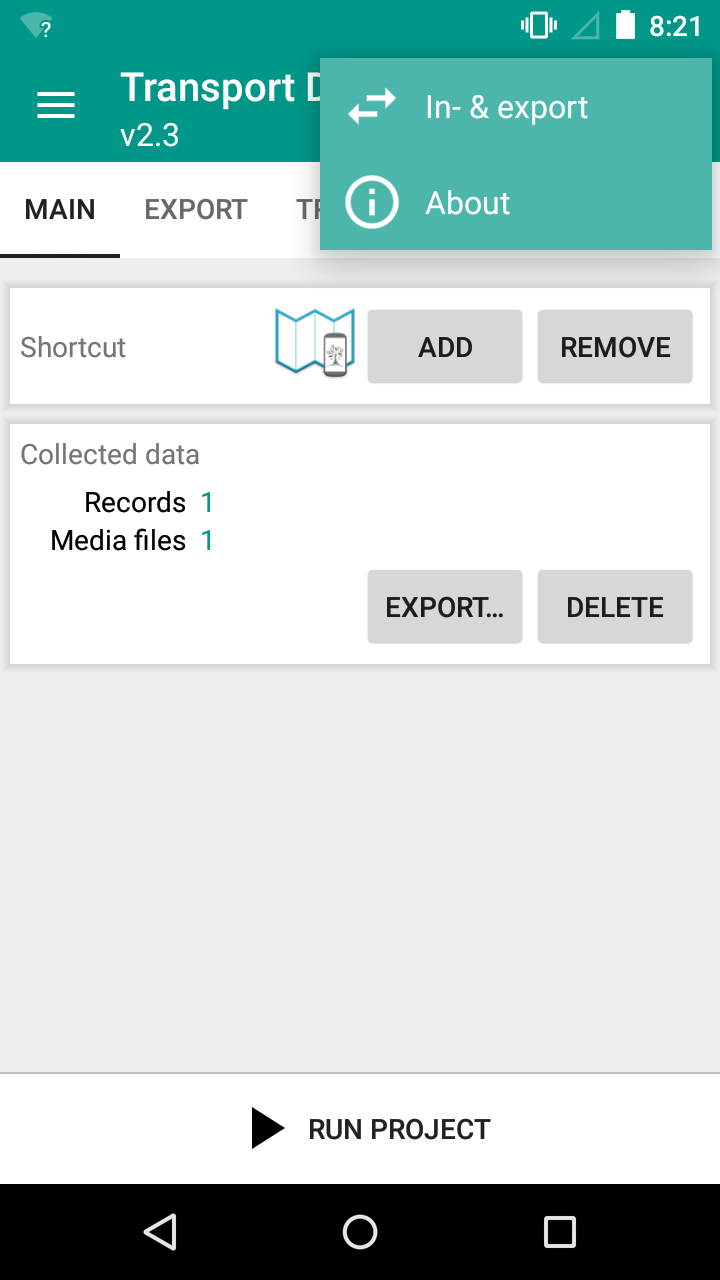
On the home page of the app click the ‘three dot’ menu icon in the top right hand corner. Next click the “About” option. Information in a box will appear on your screen and at the bottom you will see the unique Device ID of that phone.
Choice ID
The following four rows are named after the Choice ID field. In this example, in the Transport Demo PROJECT.xml, the first Choice had the id=”TransportMode” (refer back to the decision tree for clarity). The choice or ‘leaf of the tree’ the user reaches is displayed in these rows. All four rows refer to the same choice, but display the information in different formats:
- TransportMode: The number of the leaf (or choice) that the user clicked on within this choice set, in this case, they chose number “1”. The numbers start counting from zero, so number “1” would actually be the second choice within the choice field. Therefore, referring back to the PROJECT.xml file we can find the second ‘leaf’ of the decision tree to see what choice the user ended up at.
- TransportMode-Value: As the number in the previous row is not very descriptive of the choice the user clicked on, this column provides the value of that choice. Therefore, in this case, we know the user clicked on the “Motorcycle” choice in the Transport Demo project.
- TransportMode-Image: This column describes the image that represents that choice (the picture the user see’s on their screen when presented with the choice).
- TransportMode-Caption: If there was text used to represent a choice then this column will display that text. In this case Caption “is null” as there was no text displayed in the project.
Picture
The next two rows are named after the Photo ID field, in the Transport Demo PROJECT.xml the Photo id=”Picture”. Both rows refer to the same photo, but display the information in a different format:
- Picture: This row displays the unique ID of the photo(s) captured. Where more than one photo is captured, all the photo ID’s will be listed in this row separated by a semicolon.
- Picture-Files: This row displays the full name of the photo(s) captured using the following format – “Photo field ID_DeviceID_date captured (using ISO 8601 standard)_Photo’s ID number.jpg”. This would also be the name of the photo file if it were to be downloaded. Where more than one photo is captured, all photo name’s will be listed in this row, separated by a semicolon.
Location
The next eight rows are named after the Location ID field, in the Transport Demo PROJECT.xml the Location id=”Position”. These rows refer to the location of the user’s device when the data was collected. Some of the rows won’t capture results unless they have been declared in the PROJECT.xml file. For example, you would need to specifically declare the speed, bearing and altitude attributes when writing the PROJECT.xml to see results in the data, as their default value is ‘false’. (See the Location attributes in the Field types section of the XML documentation).
- Position.Latitude: Displays the latitude of the user’s device.
- Position.Longitude: Displays the longitude of the user’s device.
- Position.Altitude: Displays the altitude of the user’s device.
- Position.Bearing: Displays the bearing of the user’s device.
- Position.Speed: Displays the speed (in metres/second) at which the user’s device was moving whilst recording the location (for example, this may be useful if the user is travelling in a car whilst collecting data).
- Position.Accuracy: Displays the accuracy (in metres) of the location recording.
- Position.TimeUTC: Displays the time (using GPS time) at which the location was recorded.
- Position.Provider: Refers to how the location data was provided. If the provider is unknown then the value displayed would = 0, where GPS is the provider the value displayed would = 1, and if the provider is the network the value displayed would = 2.